
My Foray into Self-Hosting
My experience building my first home server and why deciding to build it was a great decision.

Back in high school, I bought a Raspberry Pi 4 Starter Kit from Canakit. I’m not sure why; I think it was because I came across one of those DIY smart mirror tutorials and wanted to build one myself. Regardless, I never ended up doing anything with it...until recently.
For a long time, that kit was doing nothing but sit in my drawer and stare me in the face every time I’d pull that drawer open. A few months ago, I realized it was about time I put it to use, so I decided to turn it into a server, which turned out to be a great decision. Initially, I decided to do so mainly because my data storage situation was much less than ideal at the time (think family photos stored on my laptop with no backups...yeah). Setting up the server definitely remedied that to an extent that I am comfortable with, but it also unlocked so many other benefits that I didn’t foresee. We’ll cover those later in the article, but first, let’s look at my current setup.
The Setup
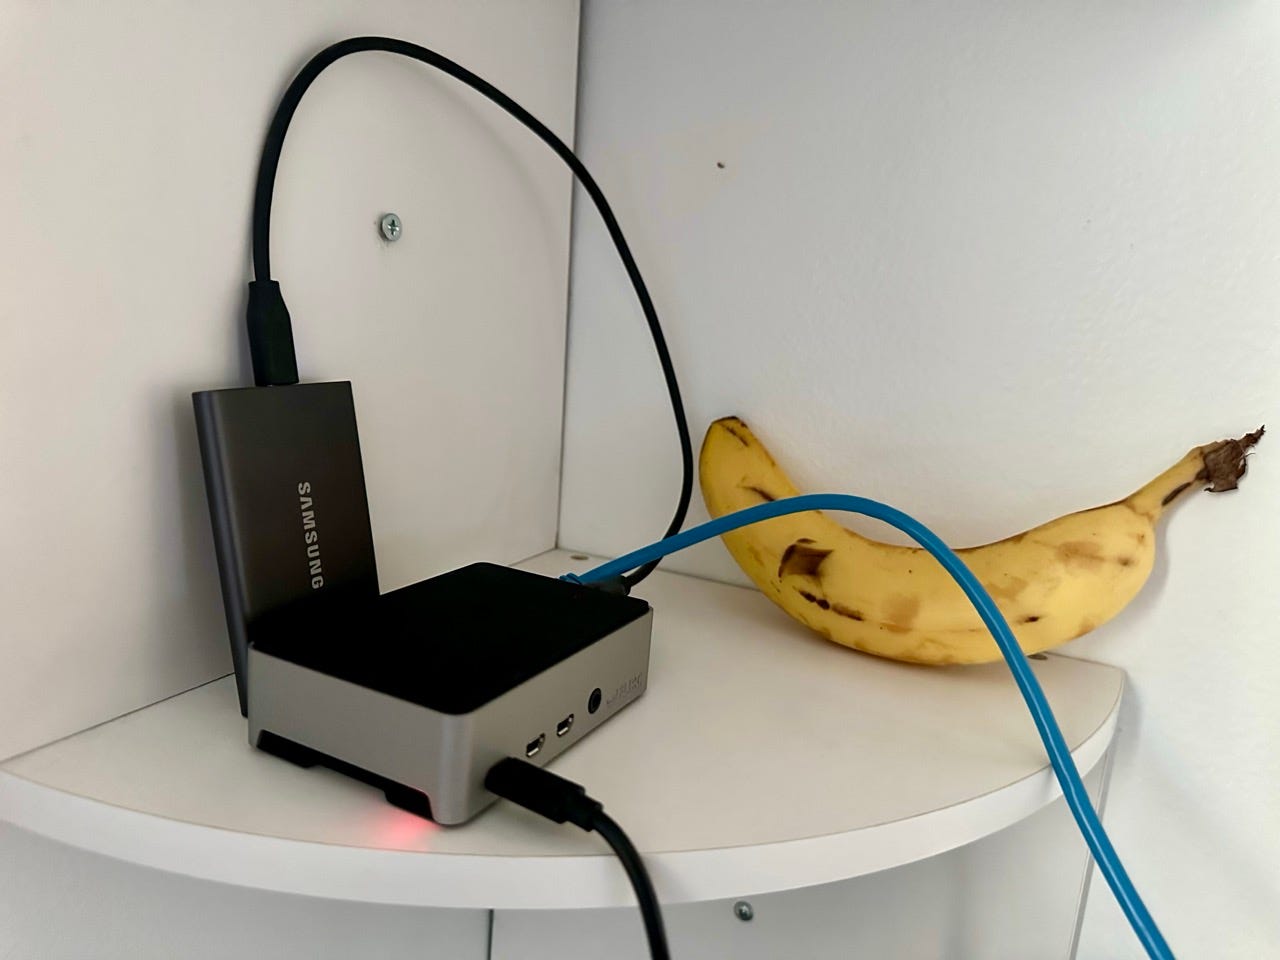
Let’s break down the hardware here. As mentioned, the computer component is a Raspberry Pi 4, connected to my WiFi extender via ethernet. It is encased in a Flirc Raspberry Pi 4 Case—an absolutely fantastic case. It looks great, is very reasonably priced, and its entire aluminum body acts as a heat sink, preventing the Pi from overheating. That last part is the killer feature for me; I was initially using the Canakit set’s included case-mounted fan for cooling, but that ended up being ridiculously loud, while the Flirc produces exactly zero decibels of noise. The Pi is connected to a 1TB Samsung portable SSD that I had laying around. It might not be the most ideal solution for server storage, but it works great for my use case. A helpful tip worth mentioning here: if you use a Pi for a server, do not use a microSD card. Initially, I was using the one included with the Canakit set for storing the OS, but I decided to remove that and just use the SSD for both the OS and the data storage. This does not only make your setup simpler, but it also avoids the relatively short lifespans of microSD cards.
Now for the fun part: the software. The Pi is running Ubuntu Server 24.04 LTS, on top of which I have a few applications running. The first is Immich, an absolutely fantastic self-hosted photo and video management solution. It has both a web UI and mobile app, and both are super polished and loaded with features. It is genuinely comparable to Google Photos, except you don’t have to surrender all your stuff to Google. The next is Nextcloud. I’m not even sure how to categorize Nextcloud as it’s capable of doing so much, but in short, think of it as an alternative to Google Drive, Docs, Calendar, and a whole bunch of other Google products all in one application. There are several ways to get it up and running; initially, I tried using the AIO installation, but there was too many hiccups along the way and I just couldn’t get it to start. I ended up just installing the Snap package which I was able to get up and running quickly without any problems. It continues to run very smoothly, even as it updates itself automatically. Frankly, I use Nextcloud sparingly and only to store some files, but if my file storage needs were greater, I’d probably use an alternative (of which there are many). Nextcloud, while powerful and versatile, is somewhat slow and bloated, but I tolerate it because I don’t use it that often anyway. Besides storage apps, I also have Pi-Hole, a network-level firewall, running on the Pi. It filters network traffic at the DNS level, meaning it blocks ads and other unwanted traffic on all devices connected to my home network. It’s very lightweight and capable; no complaints here. Lastly, this setup would be quite limiting if I could only access it while on my home network. Fortunately, Tailscale solves that problem. It’s a mesh VPN that is super easy to set up, highly secure, and works flawlessly. The free tier is very generous and is what I use, allowing me to access my server from anywhere. A perk of using Tailscale is that I can set my Pi-Hole as the DNS server for my Tailnet (i.e. all my devices running Tailscale), so I did just that, and now all the internet traffic from those devices gets filtered by the Pi-Hole, even when I’m not at home.
Of course, having all your data on a single home server without backups isn’t much better than just keeping it all on your laptop. So, I made use of an old Dell Inspiron laptop that I had laying around to store backups of the data on my main server.
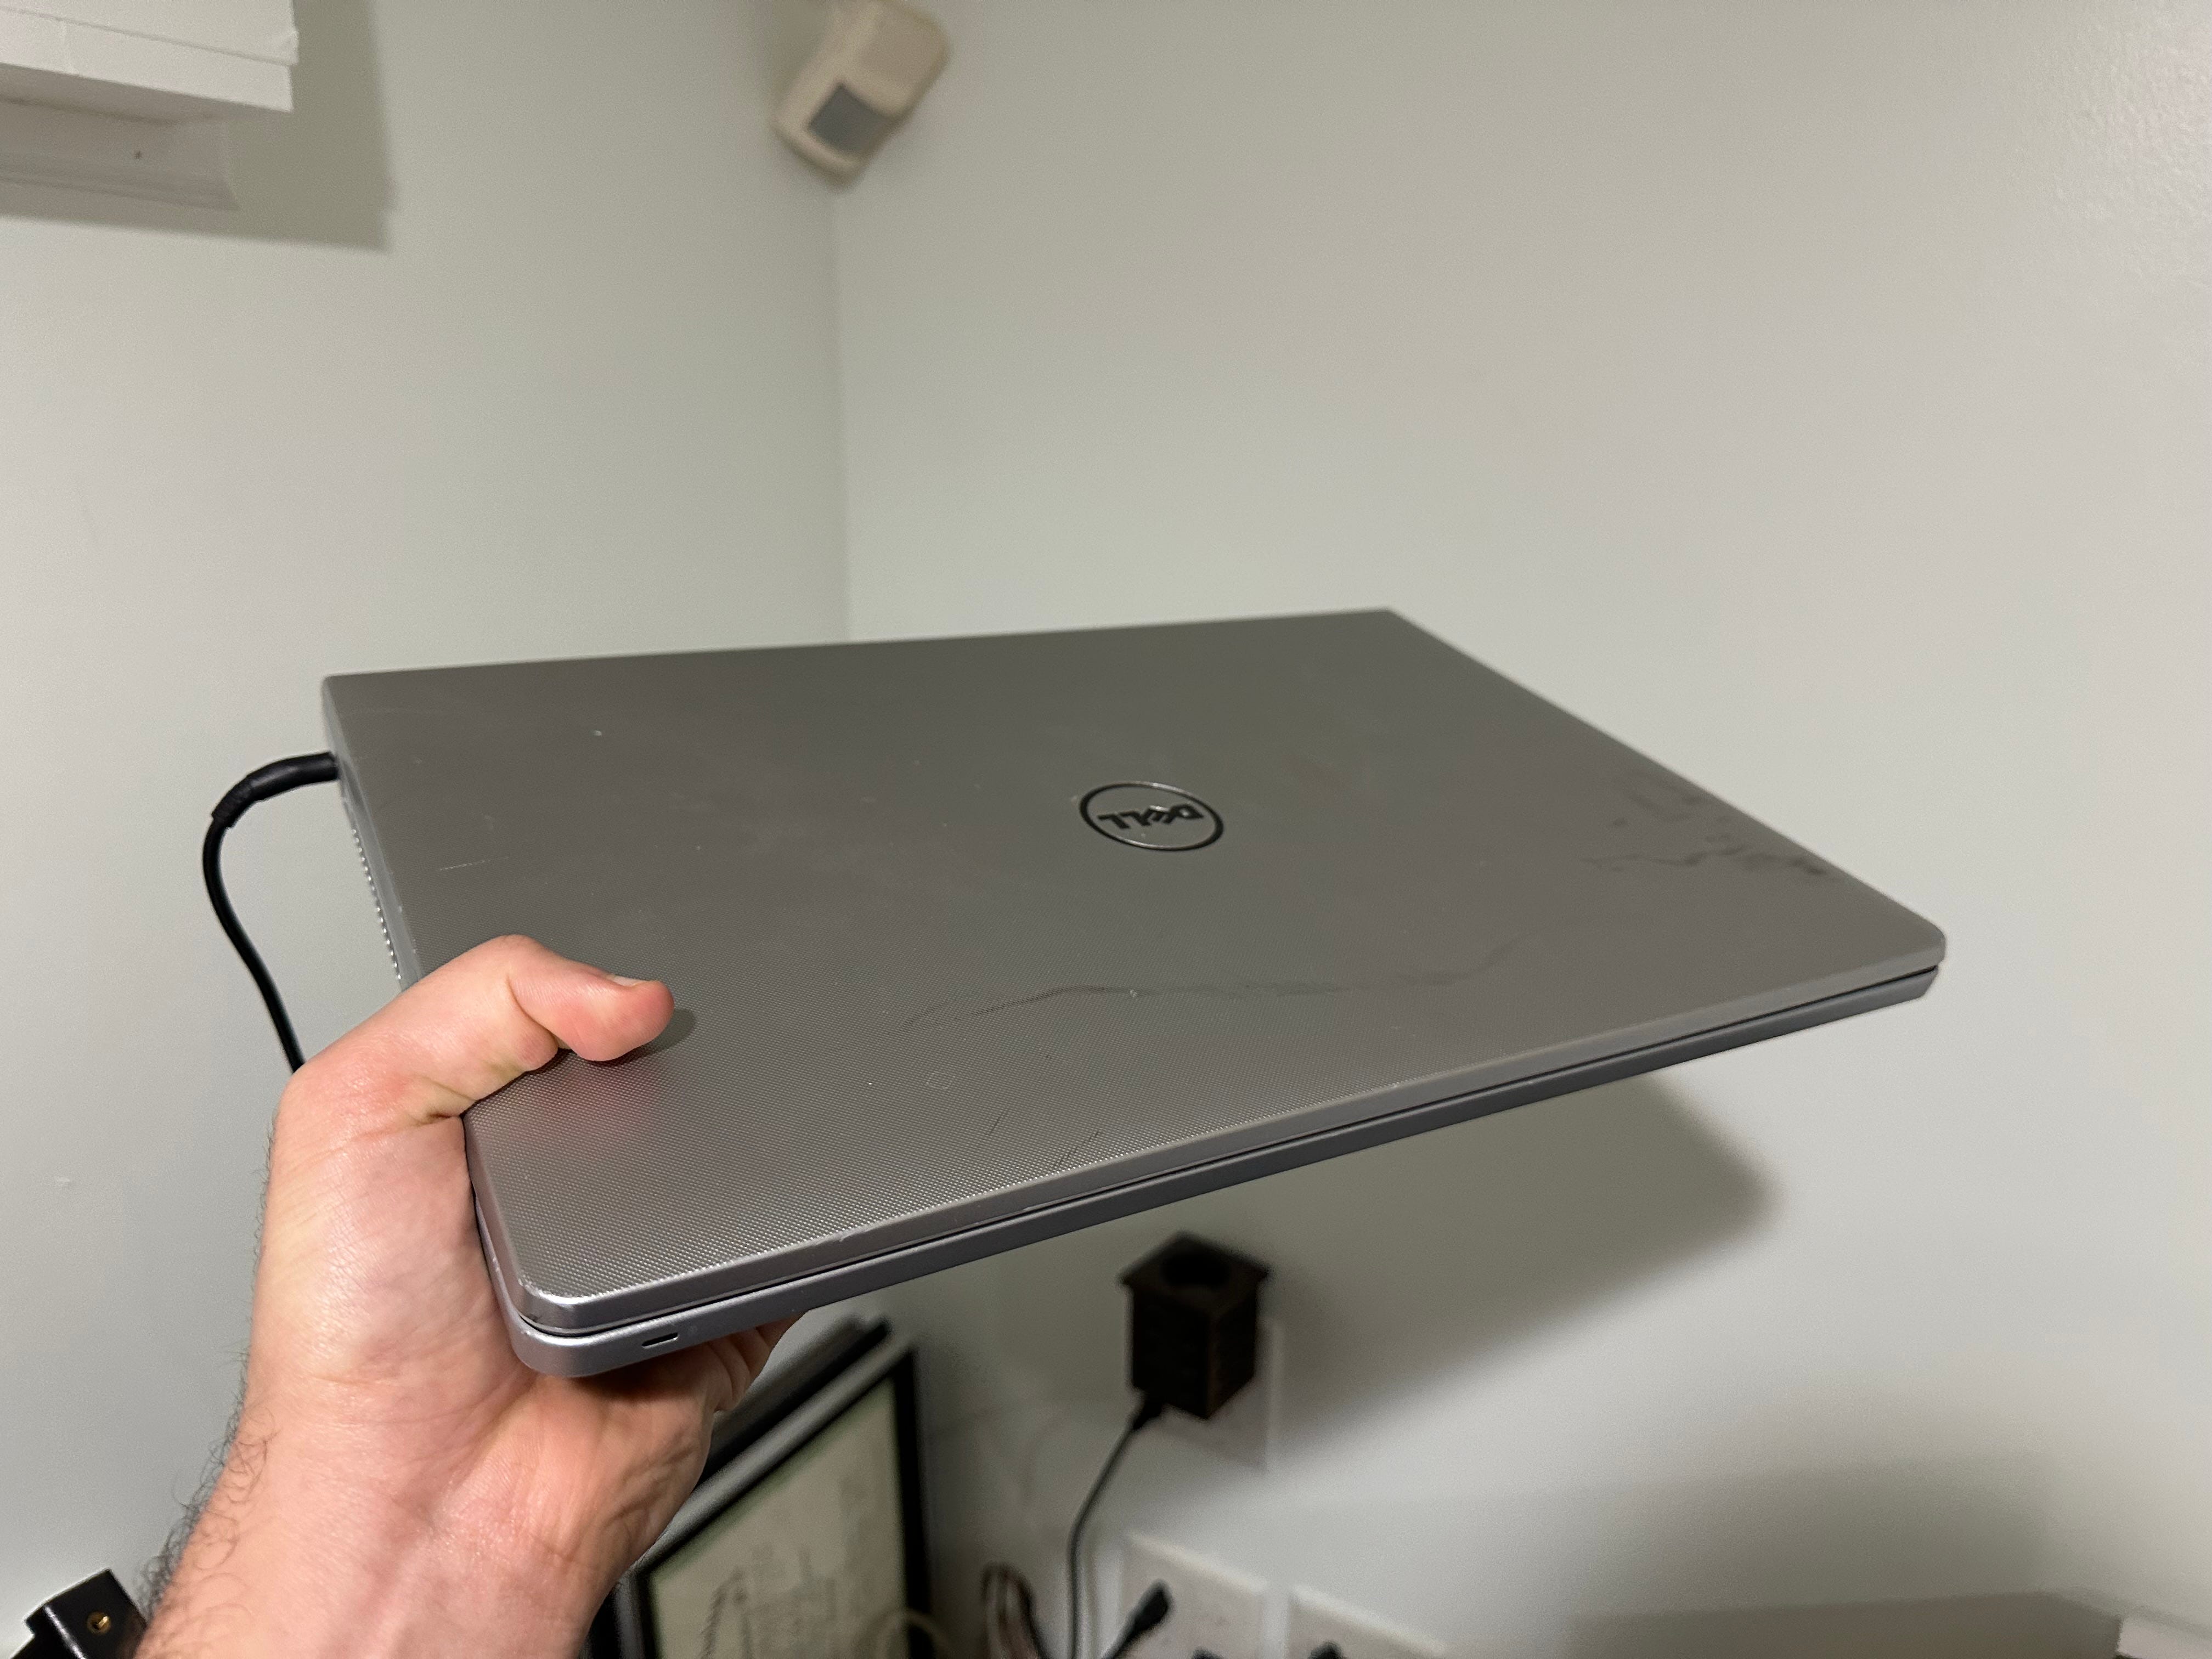
I installed Ubuntu Server onto it, configured it so that it stays running 24/7 (as long as it’s connected to power) even with the lid closed, created a Bash script that backs up my data from the Pi server to the laptop using rsync over SSH, and created a cron job to run the script nightly. So now, I effectively have two home servers, one of which is solely for storing backups of the data on the other. This might not be a full 3-2-1 setup, but it’s good enough for now, and it’s definitely better than just storing all my stuff on my laptop.
The Joy of Self-Hosting
Building my first home server turned out to be a successful experiment because I now don’t see myself ever not having my own server, and that’s for a few reasons.
Firstly, self-hosting gives you more autonomy and control. The vast majority of cloud-based services are never truly free; you’ll either have to pay a subscription—which could be hiked at any time—or hand over some of the control that you have over your data. You could be locked out of your account at any time, and in more extreme cases, the data you provide can be used against you. Sometimes, you might find the tradeoff to be worth it, and that is perfectly reasonable, but the fact remains that self-hosting an alternative to a service you’re considering gives you more control over your data and the software and hardware that you use, protects you from a possible service shutdown, and can even be more cost-effective in the long run. For a great majority of cloud-based services, there are plenty of great self-hosted alternatives available; just look at lists like selfh.st’s list or awesome-selfhosted.
Additionally, setting up your own server will teach you plenty of technical skills, which you’d probably appreciate if you are of the tinkering-nerd type like me. In my case, I had to familiarize myself with a bunch of networking concepts to get some parts of the server working properly. I also learned how to use Docker as a result of the fact that many self-hosted apps have Docker as the primary means of installation (e.g. Immich). I also learned how to use several Linux utilities like cron and rsync when setting up the aforementioned backup system.
But what if you want to get into self-hosting but don’t have the required technical knowledge to set up a server from scratch and don’t want to learn it? At this point, you still need to do at least a bit of learning, but fortunately, the technical barrier to self-hosting is slowly disappearing due to plenty of cool developments in the consumer home server space. For example, Umbrel offers plug-and-play home servers that are super polished on both the hardware and software side; they are admittedly a bit pricey but you do get that convenience and the really solid build in return. Regardless, I do think you should at least try experimenting with self-hosting, even if that just includes setting up one very simple service on very basic hardware. You might end up enjoying the process (and the outcome) more than you’d have thought.